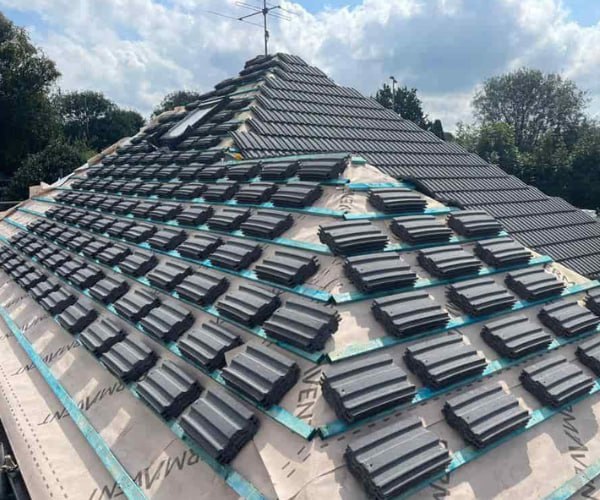
What to Do When You Discover a Slipped Tile on Your Roof
Introduction: Your roof is your home’s first line of defence against the elements, and keeping it in good condition is crucial. One common roofing issue that homeowners may encounter is a slipped tile. A single slipped tile can compromise your roof’s integrity and lead to water damage if left unaddressed. In this blog post, we’ll guide you through the steps to take when you discover a slipped tile on your roof.
1. Safety First: Before inspecting or repairing your roof, prioritise safety. Ensure you have a stable ladder, proper footwear, and suitable safety gear. If you’re uncomfortable with heights or uncertain about the process, consider hiring a professional roofing contractor.
2. Assess the Damage: Carefully examine where you’ve identified the slipped tile. Look for any visible damage, such as cracks or breaks in the tile. Additionally, check for any water damage on the roof deck or your attic, as this may indicate a longer-standing issue.
3. Gather Necessary Tools: To repair a slipped tile, you’ll need some basic tools, including roofing cement, nails, a pry bar, and a hammer. Ensure you have these items on hand before starting the repair.
4. Secure the Area: Secure the surrounding tiles before repositioning the slipped tile to prevent further displacement. Gently lift the overlapping tiles and insert roofing nails to hold them in place temporarily.
5. Lift and Realign the Tile: Using the pry bar, carefully lift the slipped tile and slide it back into its correct position. Be gentle to avoid causing further damage. Ensure that the tile is properly aligned with the surrounding tiles.
6. Apply Roofing Cement: Apply a generous amount of roofing cement under the lifted tile to secure it in place. Press the tile down firmly to ensure proper adhesion.
7. Nail the Tile: To provide additional stability, nail the slipped tile in place using roofing nails. Place the nails near the upper edge of the tile to prevent them from being exposed to the elements.
8. Seal the Edges: Apply more roofing cement along the edges of the repaired tile to create a watertight seal. This will help prevent water infiltration and further slippage.
9. Inspect the Surrounding Tiles: Double-check the adjacent tiles to ensure they are secure and undamaged after repairing the slipped tile. If you notice any other issues, address them promptly.
10. Perform a Final Inspection: Once you’ve completed the repair, perform a final visual inspection from the ground or a safe vantage point to ensure that the tile is securely in place and that there are no visible signs of damage or displacement.
Conclusion: Discovering a slipped tile on your roof may seem daunting, but you can address the issue effectively with the right tools and precautions. Remember that safety should always be your top priority, and if you’re unsure about any aspect of the repair process, it’s best to consult a professional roofing contractor. Timely repairs can help maintain your roof’s integrity and prevent further damage to your home.
Call us on: 01302 490 889
Click here to find out more about KAD Roofing Bircotes
Click here to complete our contact form and see how we can help with your roofing needs.

